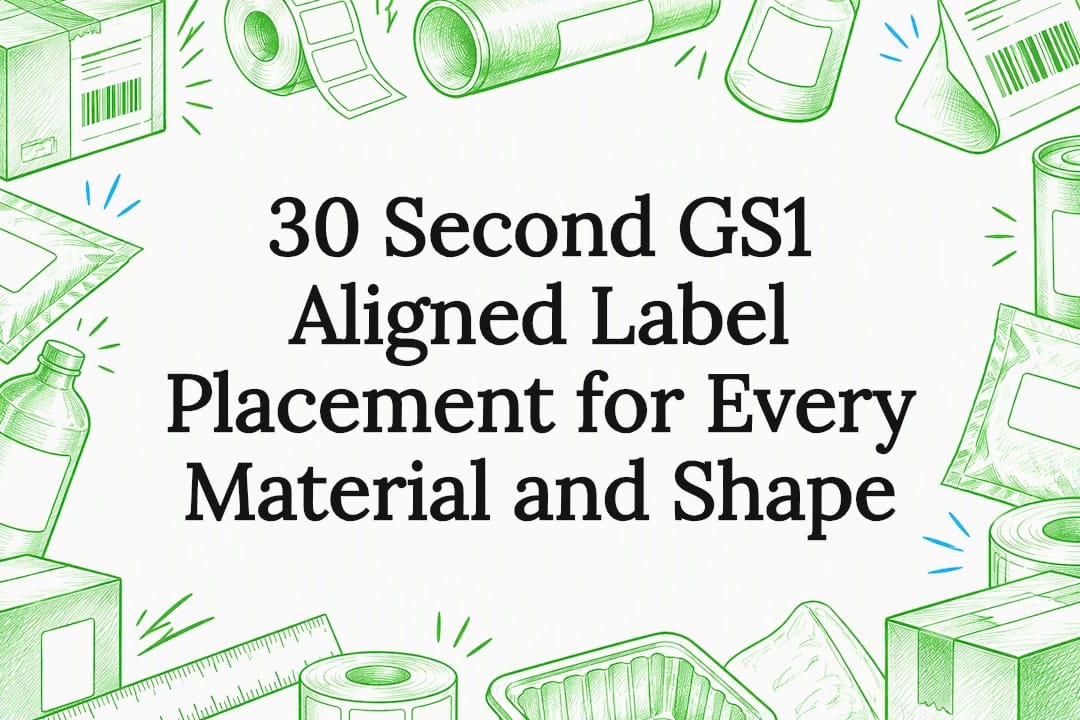
Place your shipping label flat on the largest, flattest face of the parcel, parallel to the longest side, away from seams and closures. The barcode should sit roughly 32 millimetres from the base, with its quiet zone clear of tape, folds or box edges, as set out in the GS1 logistic label guideline. We outline the full method below, drawing on that standard and our own packing guides.
TL;DR:
- GS1 guidance places the barcode’s bottom edge about 32 millimeters from the carton base and requires 19 millimeters of quiet space on smaller units.
- Standard parcels can follow GS1 placement, but retailers may require a specific carton position for automated receiving and may issue chargebacks when shipments miss it.
- Paper labels need taped edges and clear matte protection; thermal labels usually need no extra tape unless the shipment faces heavy moisture.
- For poly mailers, flatten contents first; on tubes, run the barcode lengthwise and turn the label if the curved surface prevents a clean scan.
- A check takes 30 seconds and catches old barcodes, folds, bubbles, blocked quiet zones, and forms that overlap the shipping label.
Table of Contents
- Why placement matters: the rules scanners actually need
- What GS1 and carrier rules agree on, and where they differ
- How to attach a label by material so it survives transit
- Placing labels on mailers, tubes and awkward small parcels
- The mistakes that cause scan failures, and a 30-second checklist
- How our printable labels and guides support correct placement
- Why a 30-second label check pays for itself
- Print, compare and book with confidence
- FAQ
- Sources
Why placement matters: the rules scanners actually need
Automated sorters read barcodes in a single pass, so the label has to sit on one flat plane with nothing interrupting the lines. That is why the largest flat face of a box, centred and parallel to the longest side, gives a scanner the cleanest shot.
The GS1 logistic label guideline sets the bottom of the barcode at around 32 millimetres (1.25 inches) from the natural base of a carton, with a quiet zone of at least 19 millimetres from the vertical edges on smaller units. That quiet zone, the blank margin around the barcode, is not decorative. A scanner’s laser or camera needs that clear space to distinguish the start and end of the code; print too close to an edge or crease and the read fails.
A few placement habits follow directly from this:
- Keep the label away from seams, flaps and tape lines, since any ridge under the barcode can distort the scan.
- Avoid wrapping a label around a corner, which splits the barcode across two planes.
- Position the label so it is visible from one side without the parcel needing to be turned or lifted.
Misplaced labels, wrapped around corners or folded across seams, are a leading cause of manual handling delays, according to our guide to using a label on a package. Manual handling slows a parcel down and raises the chance of a mis-scan or mis-route.
What GS1 and carrier rules agree on, and where they differ
Most placement advice traces back to the same source. The GS1 logistic label guideline is the reference point for cartons and pallets: a 32 millimetre target for the barcode’s bottom edge, consistent quiet zones, and set height ranges for pallet labels. Postal services apply a related logic to envelopes, reserving a defined read zone near the bottom edge for address and barcode data so optical readers can process mail without a human touching it.
Carriers and retailers sometimes layer their own requirements on top of these standards, especially for bulk or retail-bound freight. A large retailer may specify an exact label position on a carton to suit its own automated receiving dock, and getting that wrong can trigger a chargeback even if the parcel otherwise meets GS1 norms.
- Follow GS1 placement by default for standard parcels and cartons.
- Check your carrier’s or buyer’s own instructions before shipping into a retailer’s distribution network, since their equipment may demand a specific spot.
How to attach a label by material so it survives transit
The right placement only works if the label stays flat, flat and intact until delivery. The attachment method depends on what you are printing on.
- Paper labels printed on a home printer: tape all four edges first, then smooth a strip of clear matte packing tape over the entire label, working from the centre outward to avoid trapping air bubbles over the barcode.
- Peel-and-stick thermal labels: align the leading edge carefully, then press firmly across the full surface. These adhesives are designed to hold without extra tape, so only add tape if the shipment faces heavy moisture, as Shopify’s fulfilment guide notes for adhesive thermal stock.
- Clear label pouches: insert the printed label so the barcode and address are fully visible through the window, with no folds crossing the barcode, then seal the pouch so the sheet cannot slide inside it.
Whatever the material, avoid coloured or highly reflective tape over a barcode, since glare and tint can confuse an optical scanner. Clear matte tape or a purpose-made pouch protects against rain and handling without blocking the read.
Pro tip: When printing labels at home, set your printer to actual size rather than “fit to page,” since scaling can shrink the barcode below the minimum size scanners expect. Our guide to printing shipping labels covers the correct settings for common home printers, and our printable shipping label templates are sized to print true to scale.
Placing labels on mailers, tubes and awkward small parcels
Not every parcel offers a neat rectangular face, and a few shapes need their own approach.
- Poly mailers: flatten the contents first so the label sits on a genuinely flat panel, centre it, then tape the edges with clear tape that bonds firmly to the mailer’s plastic surface.
- Tubes: apply the label lengthwise so the barcode runs along the tube’s length, giving the scanner a continuous planar strip; barcode placement guidance for cylindrical items recommends rotating the label 90 degrees if the curve is too tight for a clean read.
- Very small boxes: use a smaller label format where available, or place the standard label on the single largest continuous face rather than wrapping it around two sides.
- When no surface is large enough or flat enough, consider repackaging in a slightly bigger box or using a label pouch rather than forcing a label onto an unsuitable surface.
The mistakes that cause scan failures, and a 30-second checklist
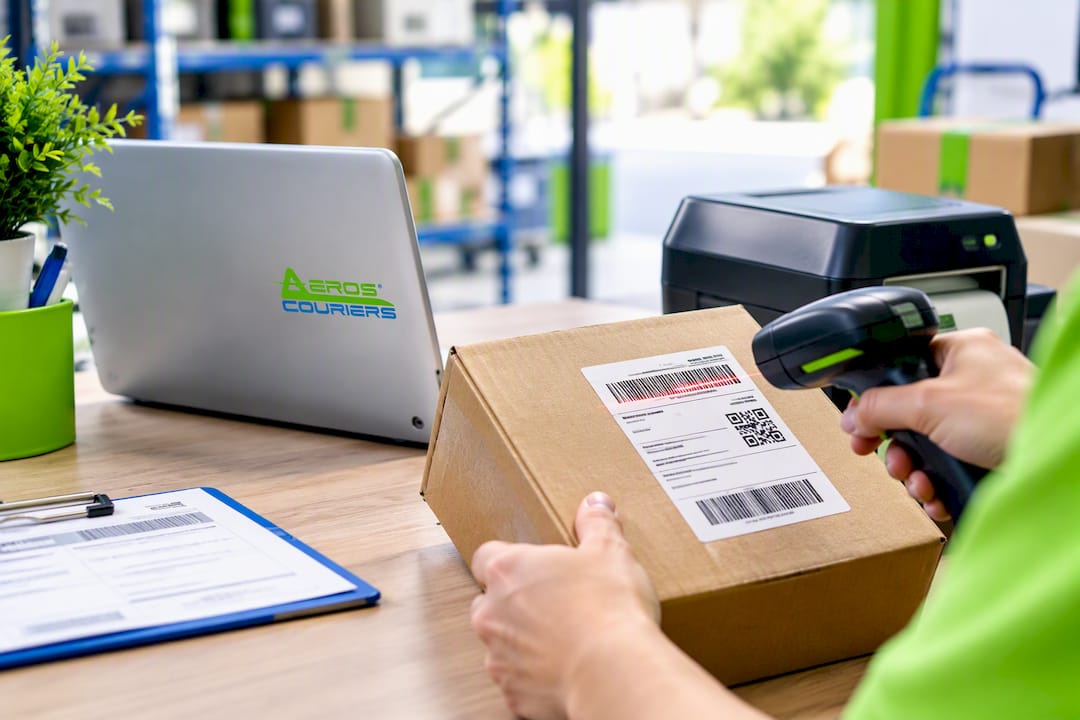
Most scan failures trace back to a handful of repeat offenders: old shipping labels left on a reused box, glossy tape laid directly over the barcode, labels stuck across a seam or fold, and label faces crowded with multiple stickers or handwritten notes competing for scanner attention.
A quick pre-drop check catches nearly all of them:
- Look for any old barcode or label and remove or cover it completely.
- Confirm the new barcode sits flat with no folds or bubbles.
- Check the quiet zone around the barcode is clear of tape edges.
- Make sure a customs or invoice form doesn’t overlap the label.
- Press and smooth the whole label one final time before handing the parcel over.
A simple visual check for old labels, barcode flatness and quiet zone takes about 30 seconds and prevents most downstream exceptions, according to this operations guide on affixing shipping labels.
How our printable labels and guides support correct placement
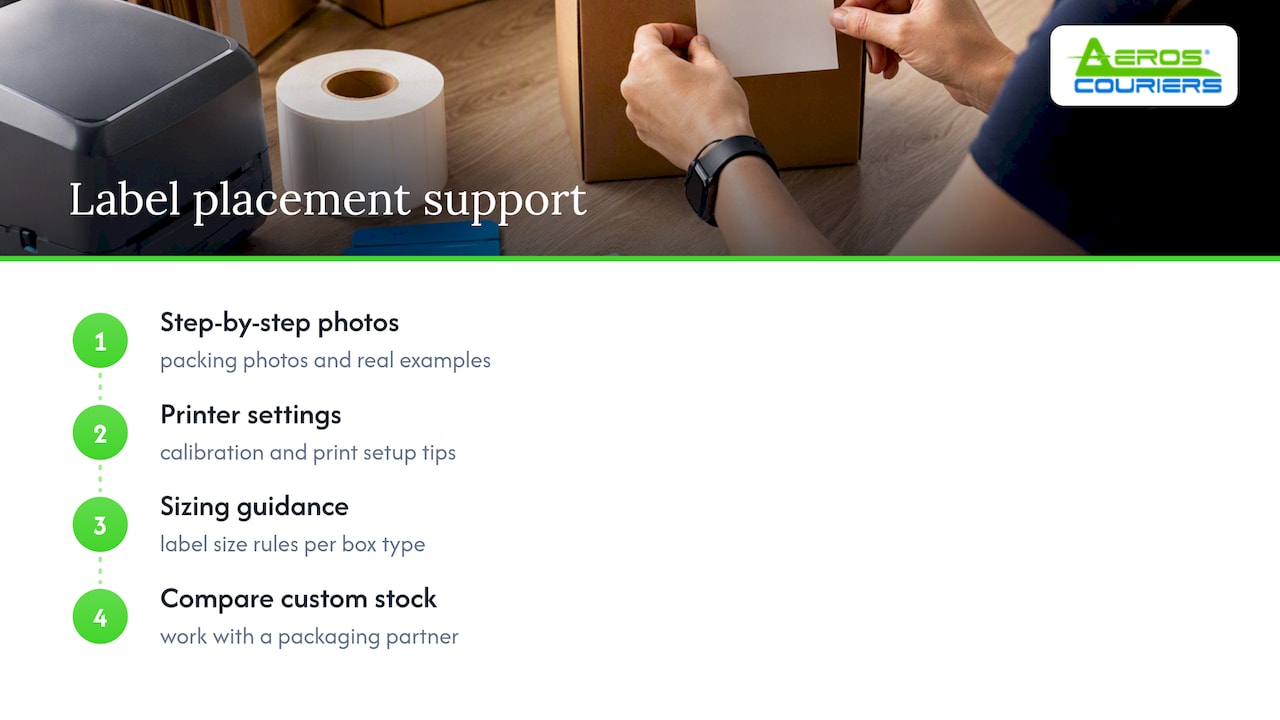
We publish step-by-step packing photos and printer settings so placement mistakes are easy to avoid before a parcel leaves your hands. Our guide to using a label on a package and our 2026 guide to printing shipping labels in Australia cover label sizing, printer calibration and real examples across box types. Readers packing frequently, including small businesses sending multiple parcels a week, can also compare custom box and label stock through a manufacturing partner like Yuan Packaging when standard labels and cartons do not suit a product’s shape.
Why a 30-second label check pays for itself
In our experience helping shippers sort out delivery exceptions, the overwhelming majority trace back to a label problem that a quick glance would have caught: a fold, a stray old barcode, tape glare. A 30-second check before sealing the parcel costs almost nothing against the time lost chasing a mis-routed shipment. The simplest fix is operational: put one person, or one packing station, in charge of the final label check on every outgoing parcel, rather than leaving it to whoever happens to seal the box that day.
— Aeros
Print, compare and book with confidence
Getting the label right is half the job. The other half is choosing a courier that won’t undo that effort with hidden fees or unreliable handling. We compare rates across major carriers for Australia-wide parcel delivery up to 25kg, with transparent flat-rate pricing and no fuel surcharges or hidden handling fees tacked on afterwards.
- Generate and print correctly sized labels before you book, ready for the placement steps above.
- Compare carrier rates instantly through our shipment rate tool rather than calling around.
- Book parcel delivery, freight, or express and same-day options with door-to-door pickup and active tracking included.
Compare your next shipment and book online in a few minutes.
FAQ
Where should a shipping label be placed?
Place it flat on the largest, flattest face of the parcel, parallel to the longest side, with the barcode kept away from seams, corners and closures. The GS1 logistic label guideline targets the barcode’s bottom edge around 32 millimetres from the base of the carton.
How do I lay out a shipping label correctly?
Centre the barcode and address block on a single flat panel, leaving a clear quiet zone around the barcode so nothing touches its edges. Avoid folding the label over a corner or edge, since that splits the barcode across two planes and risks a failed scan.
Can you put a shipping label on top of another label?
No. Stacking a new label over an old one risks leaving part of a previous barcode visible, which can cause a scanner or sorter to read the wrong code and misroute the parcel. Remove the old label entirely, or cover the previous barcode completely with opaque material, before applying the new one.
How should a shipping label look on a package?
It should lie completely flat with no folds, bubbles or wrinkles, and the barcode should be unobstructed by tape glare, stickers or handwriting. Clear matte packing tape or a label pouch protects the label from moisture and handling without compromising the scan.
Sources
Recommended
- Printable Shipping Labels for Easy Australian Shipping
- Print Shipping Labels in Australia: A Practical Guide 2026
- Printing shipping labels: A practical guide to streamline Australia shipments
- A Practical Guide to Using a Label on Package in Australia
Courier quotes, tracking and support
Ready to send a parcel? Compare the available services for your postcodes, parcel dimensions and weight. For an existing delivery, use your consignment number to check tracking or ask our team for help.