


")


Orders pile up fast when sales are good. Then the shipping work starts. You copy addresses, compare couriers, fight with printer settings, and lose time on a task that should be routine.
That is why print shipping labels matter more than most small businesses realise. A clean label does more than stick to a box. It affects speed, scan reliability, pickup flow, customer trust, and whether your shipping desk feels organised or chaotic by lunchtime.
Australian businesses are feeling this pressure at scale. Online retail sales reached AUD 62.3 billion in 2023, and 25% of Australian businesses now ship via digital couriers, which is why efficient label workflows have become a practical necessity, not an admin extra (Mordor Intelligence).
Your First Step to Smarter Shipping
Most shipping problems do not begin with the courier. They begin with a messy workflow.
If you are still jumping between tabs, manually entering suburb names, and printing labels as an afterthought, you are making local Australia-wide parcel delivery harder than it needs to be. The fix is simple. Treat label creation as the centre of your dispatch process, not the last step.
A good workflow starts before the printer turns on. You need:
- Accurate order details: Full sender and receiver information, with unit numbers, business names, and mobile numbers entered correctly.
- Correct parcel specs: Weight and dimensions must match what you are sending.
- One place to compare options: Rate shopping across carriers is far easier when it happens in a single dashboard.
- A printable output: PDF labels should come out ready to use, not requiring resizing or guesswork.
That is where digital courier tools become useful. For businesses reviewing broader options, this guide on finding the best shipping options for small businesses is a sensible starting point because it helps frame the trade-off between convenience, cost, and control.
If your focus is affordable local parcel delivery across Australia, a practical next step is using a service built for quick quotes and printable labels from one workflow. This package courier service page shows the kind of setup that suits cartons, satchels, and everyday business shipments without turning dispatch into a full-time job.
Tip: The cheapest shipping process is rarely the one with the lowest quoted rate. It is the one with the fewest reprints, address errors, and delayed pickups.
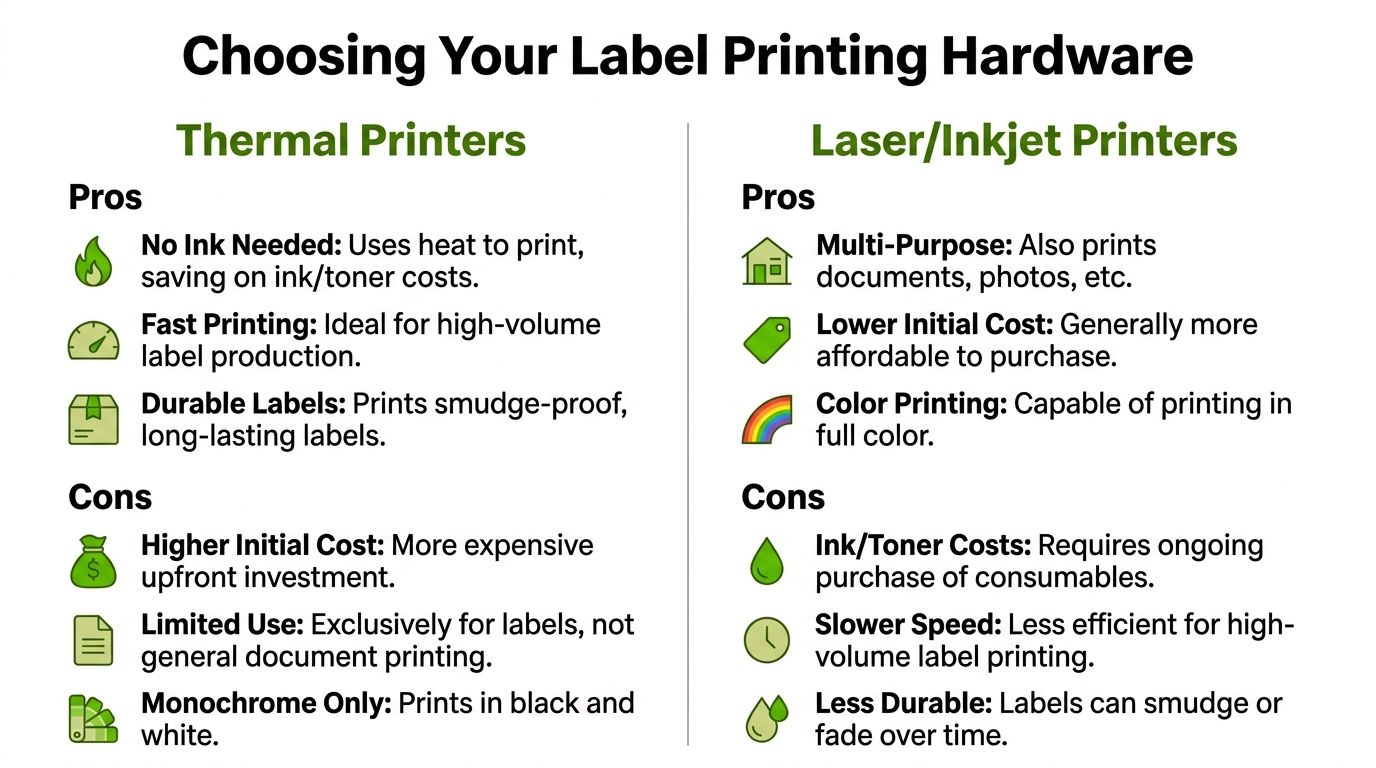
Choosing Your Label Printing Hardware
You feel printer mistakes fastest at 4 pm, when pickups are close, orders are packed, and one label prints 8 mm too low on an A4 sheet.
That is usually the moment Australian sellers realise generic shipping advice is too broad. In local dispatch setups, the hardware decision is less about features and more about friction. The wrong printer adds reprints, crooked barcodes, wasted label stock, and bench-time you never get back.
The two setups that matter
For Australian parcel shipping, small businesses usually end up with one of two practical setups:
- Direct thermal printer with roll labels
- Laser or inkjet printer with A4 adhesive sheets
Both can work. The better choice depends on how many parcels you send, how much bench space you have, whether you also print office documents, and how much tolerance you have for fiddly setup.
When thermal makes sense
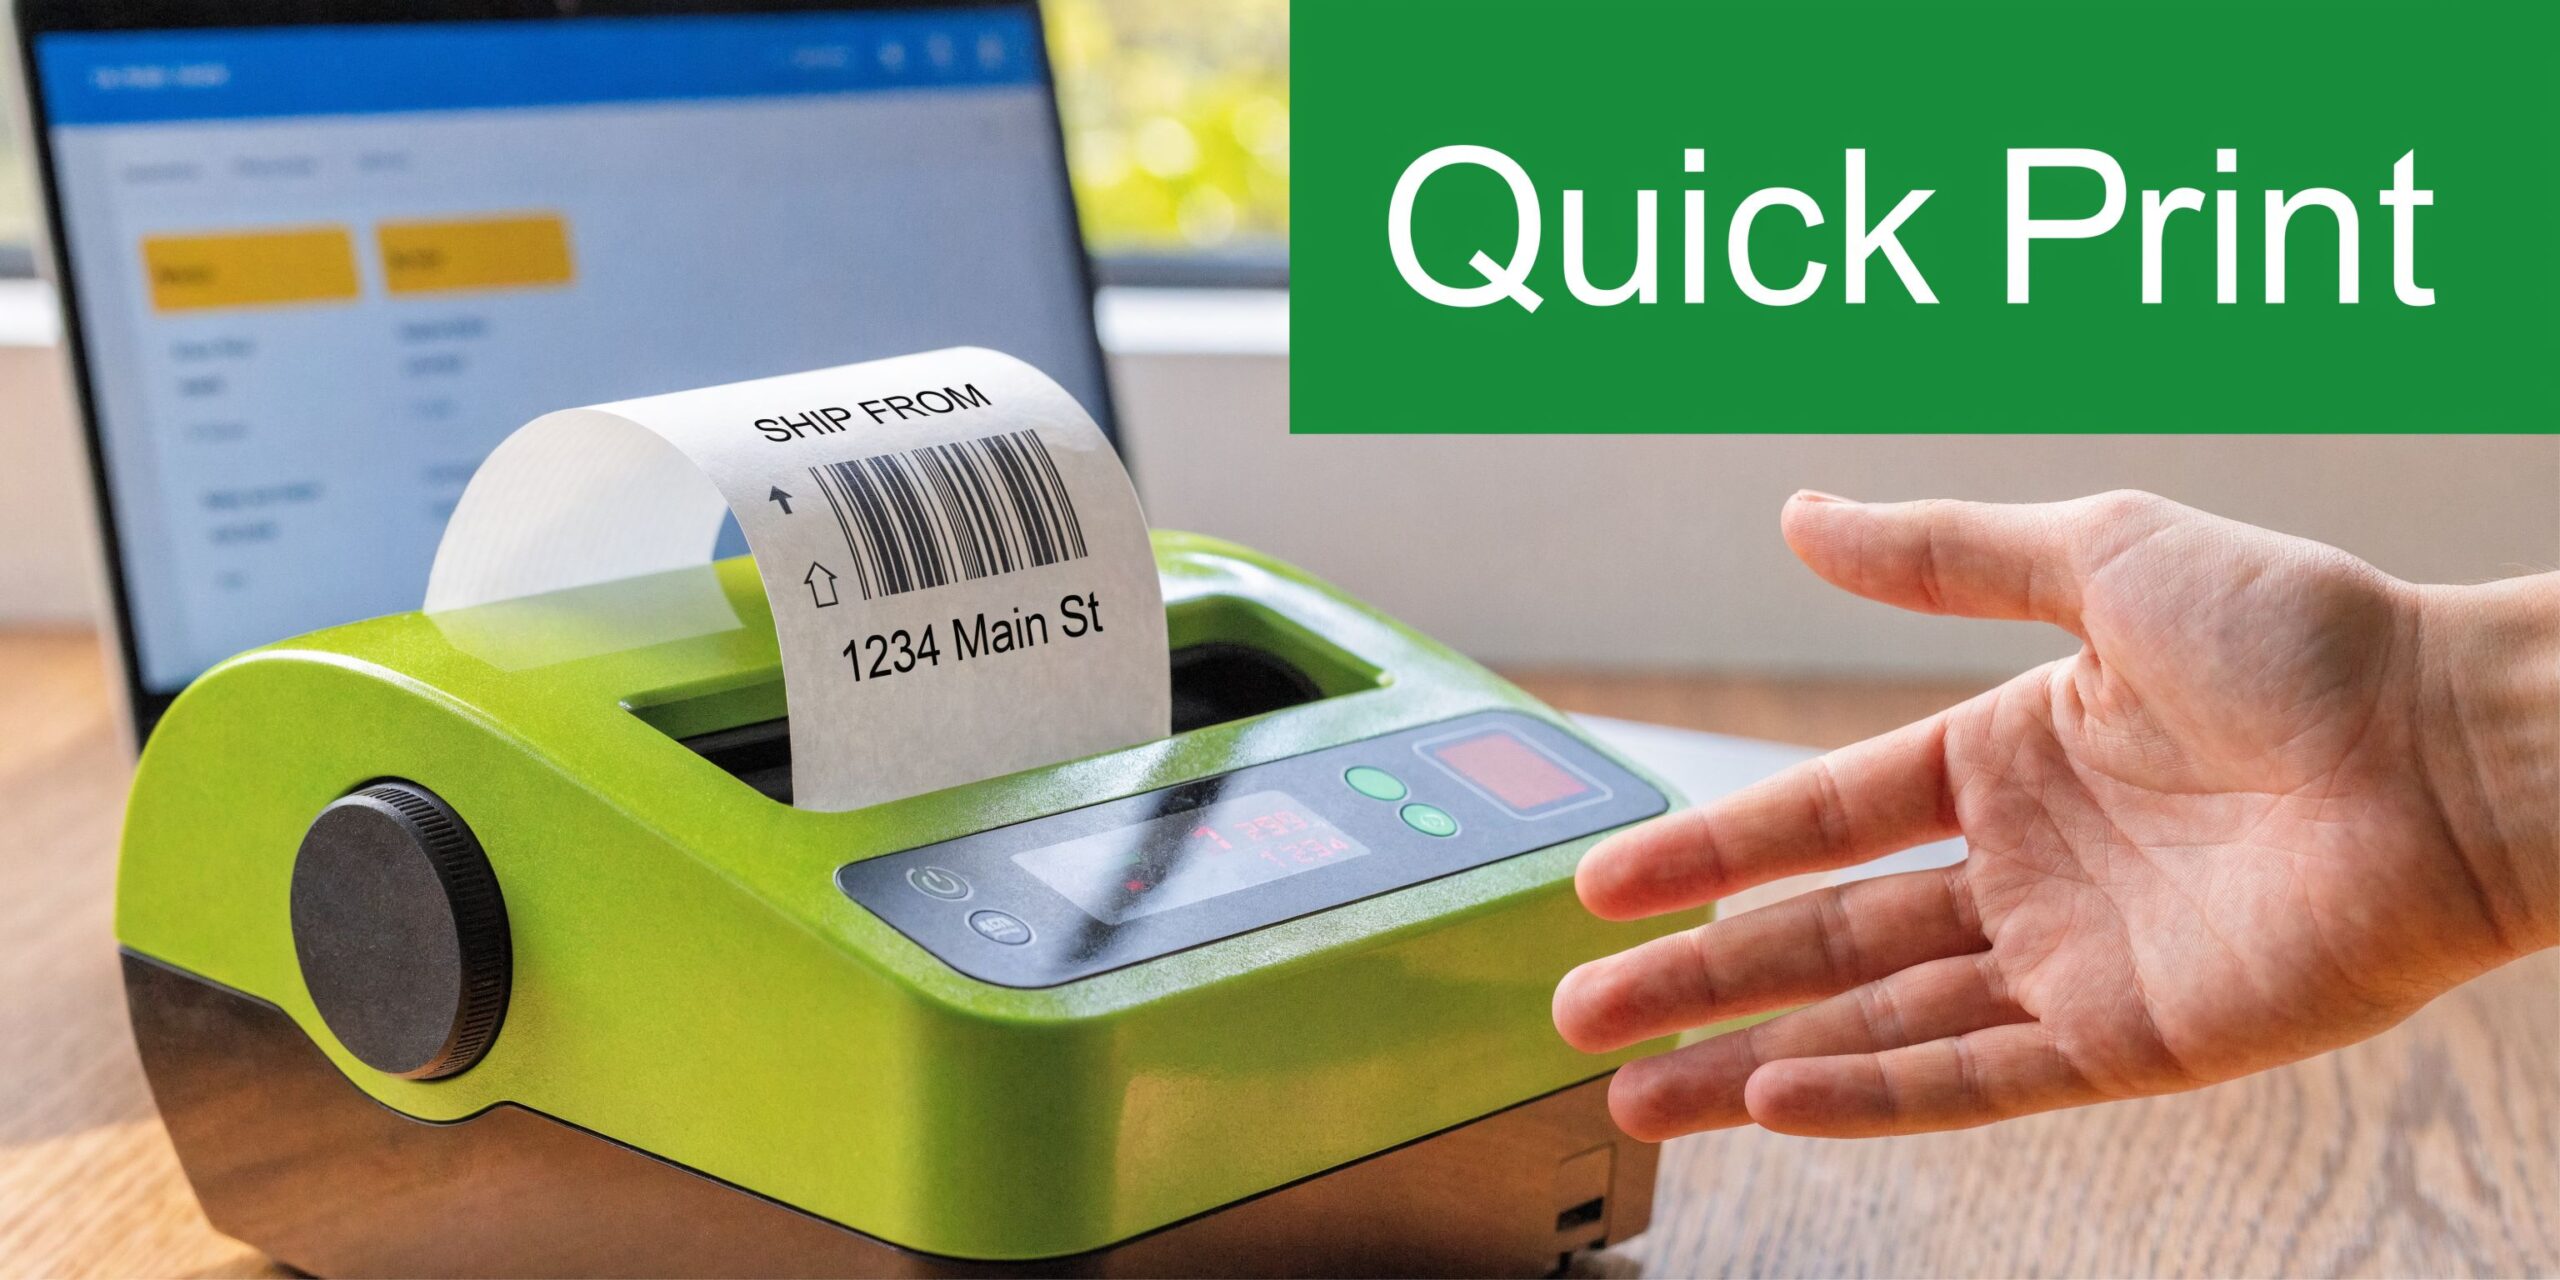
Thermal printers suit repeat dispatch. Load the roll, print the label, peel it off, stick it on, and keep packing.
That speed matters more than people expect. Once daily order volume starts climbing, removing cutting, taping, and A4 alignment checks can shorten the whole bench process. For businesses using Aeros Couriers regularly, thermal usually becomes the easier long-term setup because labels come out in the format couriers expect and staff need less prompting.
The trade-offs are straightforward:
- Faster for one-by-one dispatch: Good for satchels, cartons, and steady daily volume.
- Less bench clutter: No full paper tray, no half-used A4 label sheets.
- Lower print fuss: No ink or toner to manage for label jobs.
- Single-purpose hardware: Great for labels. Not useful for invoices, colour inserts, or general admin.
If you already know a roll-fed setup is the right fit, this practical guide to thermal printer setup for shipping labels helps with calibration, media loading, and the common setup issues that slow down first-time users.
When laser or inkjet is still the smart move
A standard office printer is still a sensible option for lower-volume shipping.
If you send a few parcels a week and already own a reliable laser printer, A4 adhesive sheets are often the cheapest starting point. You avoid buying dedicated hardware too early, and one machine can still handle packing slips, returns instructions, invoices, and general admin.
That flexibility comes with a cost in time. Australian sellers run into this constantly because A4 sheet workflows are far more common here than in US tutorials. Margins vary by printer. Templates shift. One print dialogue box set to “fit to page” can throw the whole label off.
Laser or inkjet usually makes sense when:
- Order volume is still low: You do not need purpose-built hardware yet.
- You want one printer for everything: Admin documents and labels come from the same machine.
- You store supplies on shelves or in drawers: Flat A4 stock is easier to manage than rolls for some workspaces.
Printer comparison
| Feature | Direct Thermal Printer | Laser/Inkjet Printer |
|---|---|---|
| Best fit | Frequent parcel shipping | Low to moderate shipping volume |
| Label format | Roll labels, usually 4×6 | A4 adhesive sheets |
| Running workflow | Print, peel, stick | Print, align, peel |
| Ongoing consumables | Label stock | Paper or labels plus ink or toner |
| General office use | No | Yes |
| Common headache | Wrong media or calibration | Margin and alignment issues |
| Typical result | Faster dispatch bench | Flexible but slower workflow |
The Australian wrinkle that catches people
A lot of overseas advice assumes a default 4×6 thermal setup and skips over sheet printing entirely. That does not match many Australian businesses, especially home-based shops, market sellers, and growing brands still working from a spare room or small warehouse corner.
In Australia, A4 label sheets are common. So are office printers that behave differently depending on paper tray settings, driver updates, and PDF defaults. That means your hardware choice is also a workflow choice. Roll labels reduce variables. A4 sheets keep startup costs down but demand tighter printer settings.
Label stock matters more than the printer brand
Cheap stock causes problems that look like printer faults.
Labels that curl, feed unevenly, or fail to stick to recycled cartons create scan issues and relabelling at the worst possible time. For everyday Australian courier use, the practical breakdown is simple:
- Direct thermal rolls: Best for regular satchels and cartons moving through the network quickly.
- Thermal transfer labels: Better where labels face heat, rubbing, or longer storage.
- A4 adhesive sheets: Fine for lower-volume dispatch if your template, margins, and printer settings are locked in.
Buy hardware for the shipping rhythm you have now. A kitchen-table business sending six parcels a week does not need warehouse gear. A shop printing 30 labels a day gets that time back fast with thermal.
Generating a Perfect Label with Aeros Couriers
You have packed the order, booked the pickup, and the courier is due this afternoon. The part that still trips up plenty of Australian sellers is the label. One wrong field, one A4 scaling issue, or one blurred barcode, and a simple dispatch turns into a support job.
A good label starts before you print. With Australian courier bookings, the label only works if the booking details are right in the first place. Weight, dimensions, sender details, receiver details, and delivery instructions all feed into the final barcode and routing data. If any of that is off, the parcel can be delayed, repriced, or set aside for manual handling.
What to enter first
Start with the parcel.
Measure the packed carton or satchel you are sending, then enter its accurate weight and dimensions. That sounds basic, but it is one of the easiest places to lose money. If the parcel is larger than the booking says, the cheap quote you saw at checkout will not stay cheap for long.
Then complete the address fields carefully. The errors I see most often are small, but expensive:
- Business name and receiver name mixed together: Include both when the parcel is going to a workplace, clinic, school, or shop.
- Unit, level, or suite details dropped into notes: Put them in the proper address fields so they appear where the driver and depot team expect them.
- Mobile number missing: Handy when pickup access, delivery timing, or ATL instructions need a quick check.
- Special declarations skipped: Add them when the service or shipment type requires them.
Australian addresses are less forgiving than a lot of overseas guides suggest. A missing unit number in Sydney, Melbourne, or Brisbane can send a parcel into manual sorting fast.
How the label should be produced
The whole point of using a proper booking platform is to avoid fixing labels by hand.
Aeros Couriers keeps this simple. You quote the job, choose the service, confirm the booking, and print the label generated from that booking data. That is the process you want, because it cuts out the messy middle where people save PDFs, rename files badly, or try to resize labels in another program.
A practical workflow looks like this:
- Quote the shipment using the packed weight, dimensions, and destination.
- Choose the service that matches the delivery speed and cost you need.
- Confirm the sender, receiver, and pickup details.
- Download the label in the correct format for your setup.
- Print at 100% size with scaling turned off.
If you are adjusting barcode size, dragging labels around a PDF, or printing from a phone to an office printer, the setup is too loose.
What a reliable dashboard should do
A useful example is Aeros Couriers' tool to print postage labels for Australian shipments. It shows what a workable local setup looks like. Quote, book, print, and track from one dashboard, without copying the same shipment into multiple carrier sites.
That matters more in Australia than many US-focused guides admit. Local businesses often switch between thermal printers and A4 sheets depending on order volume, available space, and whether dispatch happens from a warehouse, shop back room, or home office. The label output needs to stay clean across those setups.
What works in practice:
- One dashboard for quoting and label creation
- A clean PDF that prints at the correct size
- Tracking linked to the same booking
- Support for ordinary parcel freight, not only edge-case shipments
What wastes time:
- Saving labels as screenshots
- Printing from a mobile with default scaling
- Entering rough parcel sizes and hoping nobody notices
- Treating structured address fields like a comment box
A quick pre-print check
Before printing, check three things and check them in the preview, not after the sheet comes out.
| Check | Why it matters |
|---|---|
| Address formatting | Reduces delivery confusion and manual handling |
| Parcel specs | Avoids repricing and processing delays |
| Printer format | Prevents scaling, clipping, and unreadable barcodes |
If the preview looks off-centre, shrunken, or padded with wide margins, stop there. That is a common A4 problem in Australian home and office setups, and it rarely fixes itself on the second print.
The smoothest shipping desks are predictable. Same booking flow, same print settings, same quick check before the label goes on the box. That is how label printing stops being a daily annoyance and becomes a reliable part of dispatch.
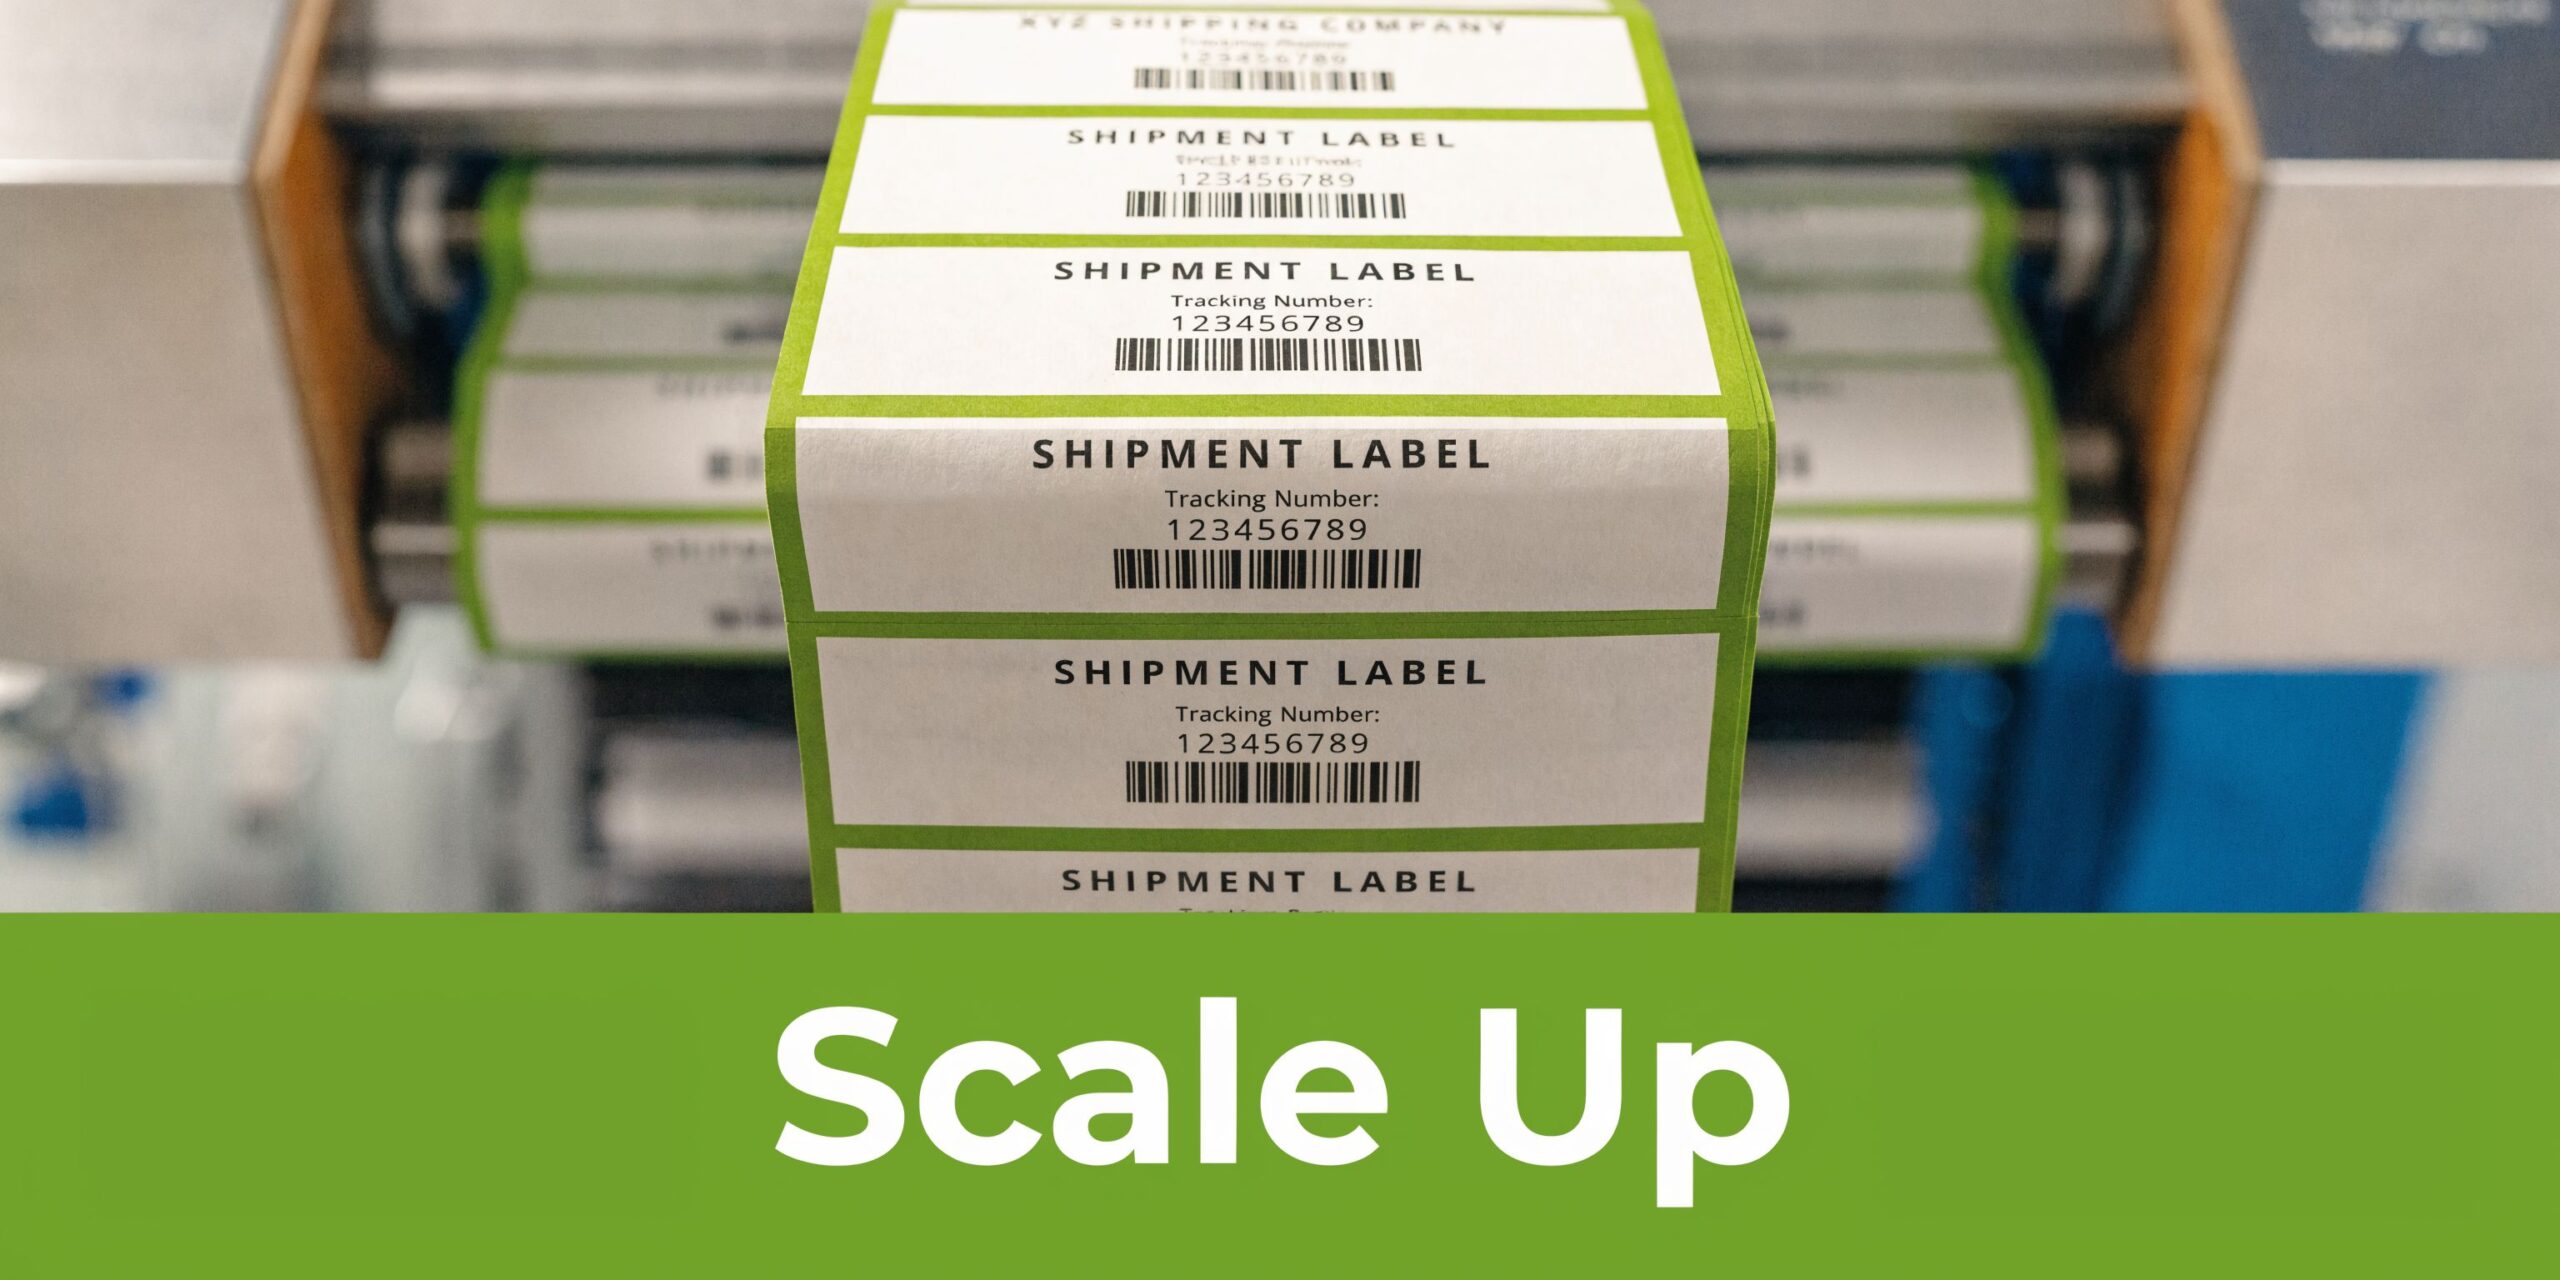
Scaling Up with Bulk Printing and Integrations
One order is admin. Twenty orders is a system test.
If your business is growing, the bottleneck usually appears before lunch. Not because printing is hard, but because repetition kills momentum. Opening orders one by one, copying addresses one by one, and printing one label at a time turns dispatch into a slog.
Bulk printing starts with clean order data
Bulk printing is only efficient when the source data is clean.
A simple CSV workflow solves a lot of pain if your orders come from a marketplace, website export, or internal order sheet. The file does not need to be fancy. It needs to be consistent.
Typical fields include:
- Order reference
- Receiver name
- Business name if relevant
- Street address
- Suburb
- State
- Postcode
- Phone number
- Parcel weight
- Length, width, height
- Authority to leave or signature preference
- Internal notes for your team
Keep naming consistent. If one row says “St” and another says “Street”, that is not fatal. If one row swaps receiver and company names, that is where trouble starts.
What works when volume rises
At low volume, manual entry feels manageable. At moderate volume, it becomes expensive because every repeated keystroke is another chance to create an error.
The better method is:
- export order data
- tidy obvious mistakes
- upload in bulk
- generate labels together
- print in sequence with matching pick-and-pack flow
If your products are similar in size, dispatch gets even easier because you can batch by packaging type before printing.
Integrations remove the dullest work
Direct integrations matter when your store receives orders every day. Instead of exporting and uploading files, orders flow into your shipping area ready for review.
That shift removes the most annoying part of dispatch. Not the printing itself, but the copying.
A practical shipping account should support a workflow where your order source feeds your dispatch dashboard, and labels are generated with minimal manual intervention. For businesses moving from ad hoc sending to regular dispatch, a business postage account shows the kind of centralised setup that helps keep all shipments under one roof.
A key benefit: fewer avoidable mistakes
People usually think bulk tools are about speed. They are, but the bigger gain is consistency.
When labels are generated from imported order data rather than retyped manually, you reduce:
- Transposed postcodes
- Misspelled street names
- Wrong parcel references
- Mixed-up customer records
- Late-day dispatch fatigue errors
That matters most during busy periods when your team is working quickly and attention drops.
Build the bench to match the file
Bulk printing works best when your physical process matches the order in your system.
Use a simple bench flow:
| Bench step | Best practice |
|---|---|
| Picking | Group orders in the same sequence as your printed labels |
| Packing | Confirm item count before sealing |
| Label printing | Print in batches you can physically manage |
| Label application | Attach immediately, not in a loose pile later |
| Dispatch staging | Separate completed parcels from unlabelled stock |
Key takeaway: Bulk printing is not just a software feature. It is a discipline. The file, printer, packing bench, and pickup area all need to follow the same logic.
If the sequence breaks, labels get matched to the wrong parcels. That mistake is far more common than people admit.
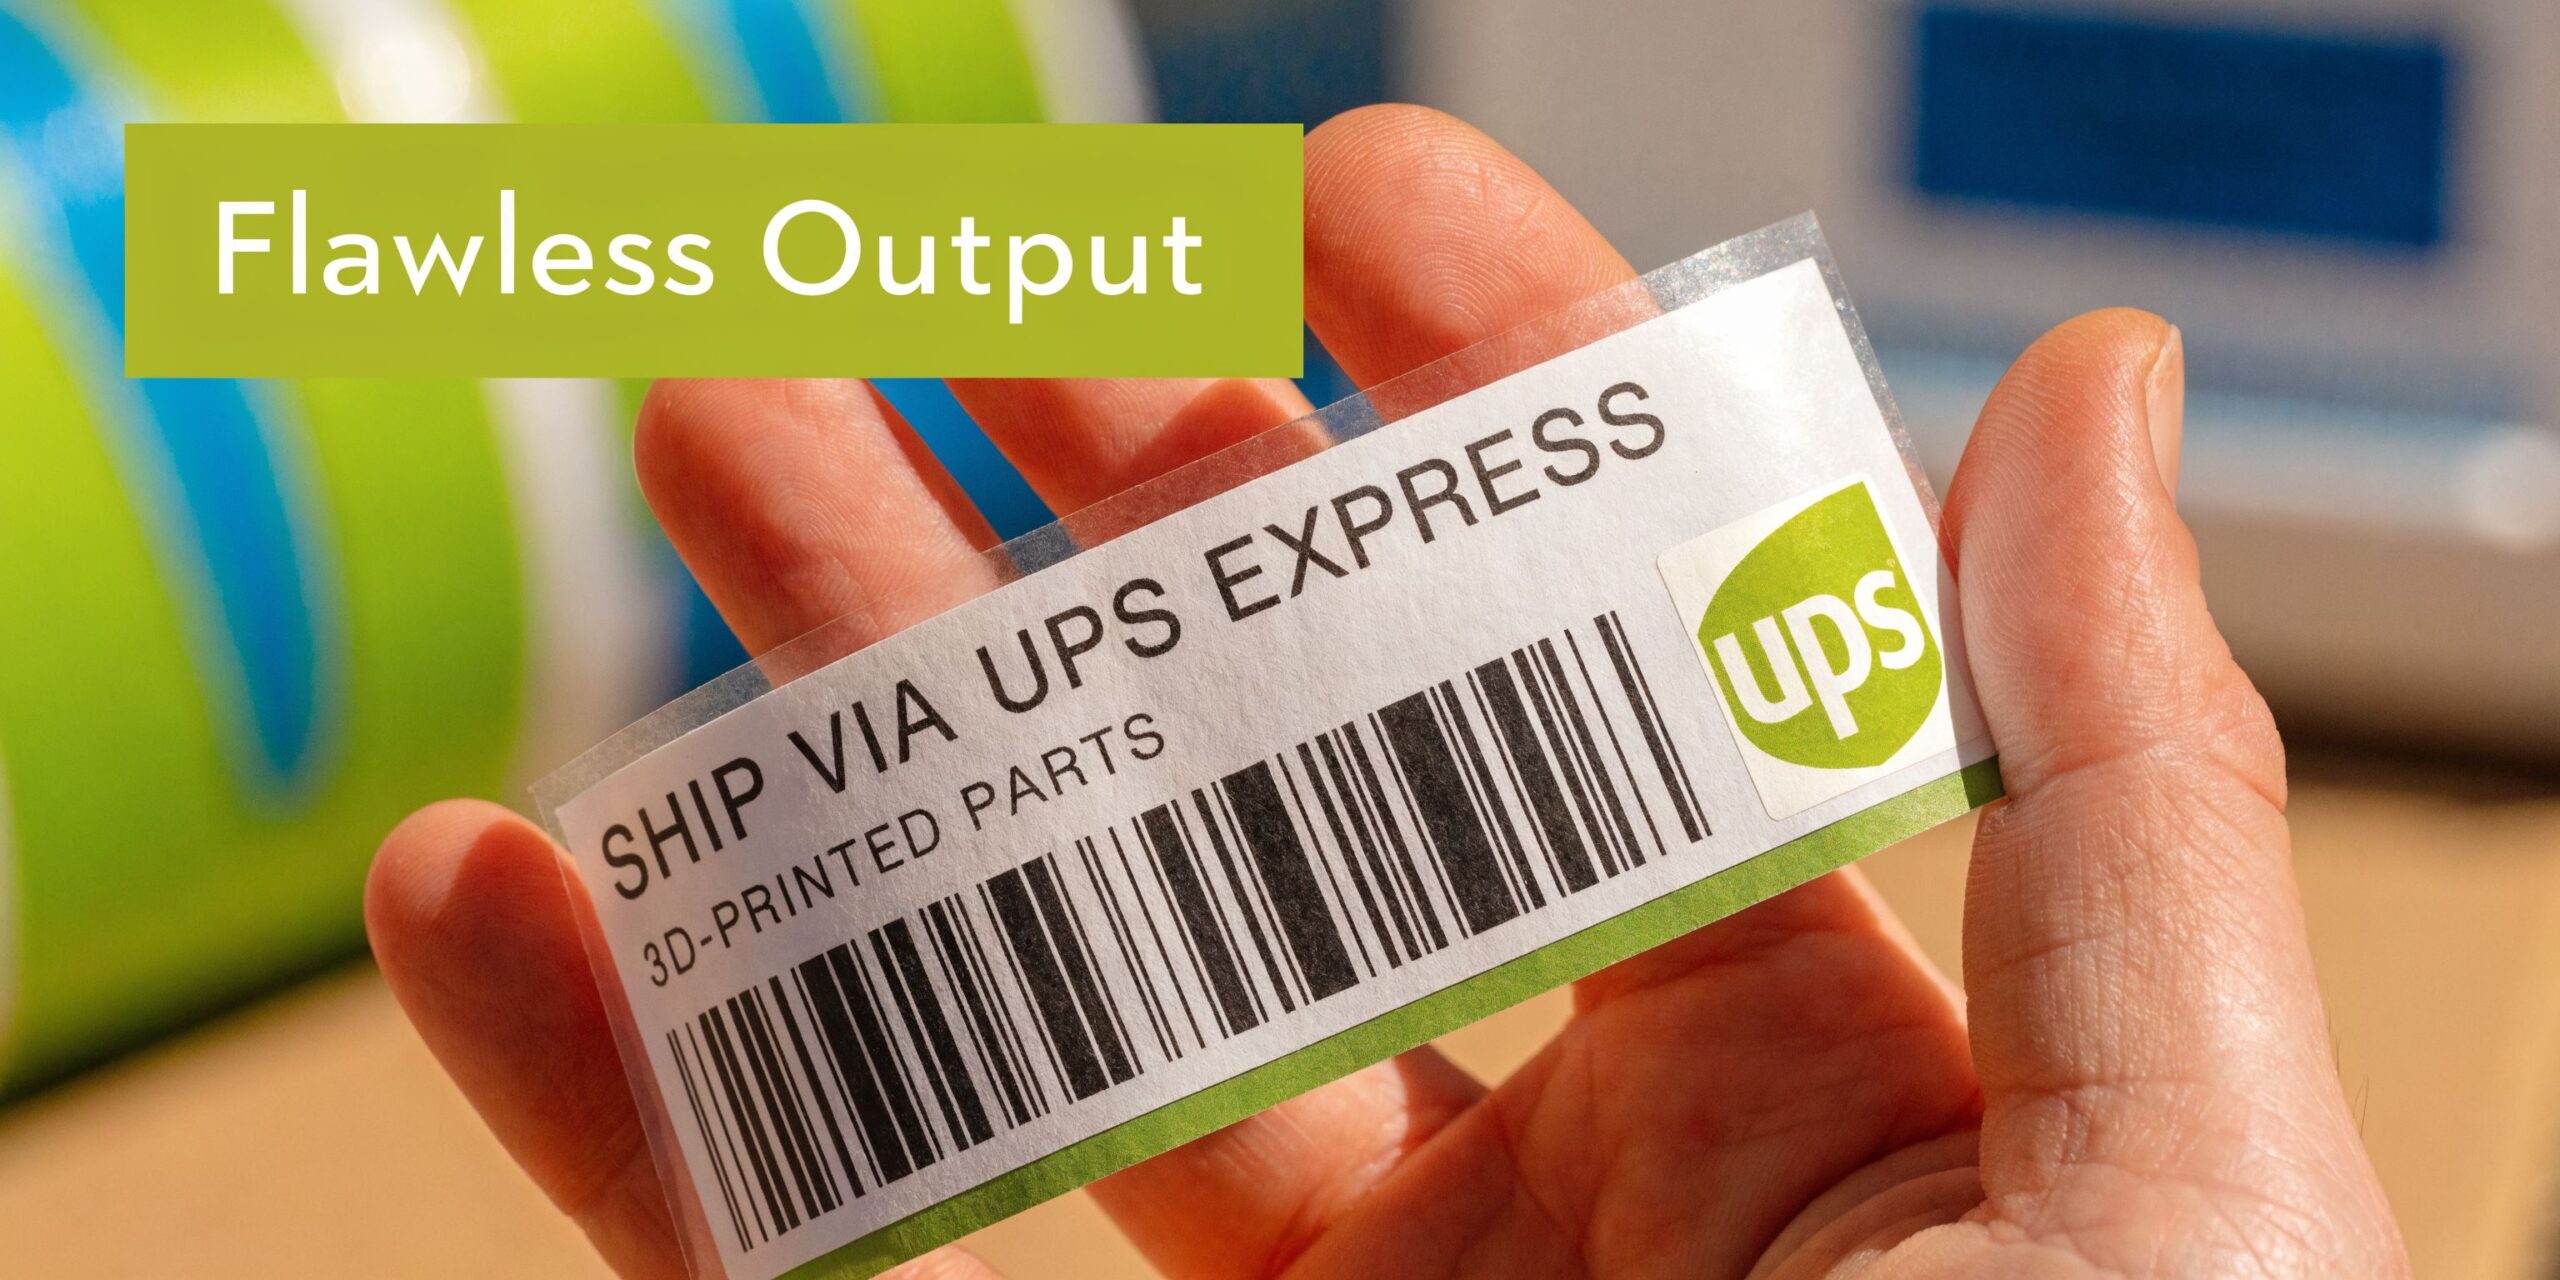
Mastering Your Printer for Flawless Results
You print the label, stick it on, hand the parcel over, and later find out the barcode would not scan at the depot. The PDF was fine. The printer setup was not.
That gap catches plenty of Australian sellers, especially on A4 sheets. US advice often assumes Letter paper or 4×6 thermal labels. Local businesses are usually dealing with A4 office printers, mixed carrier formats, and drivers that love to scale jobs without asking.
The A4 issue Australian sellers keep running into
A4 label sheets fail for boring reasons. Margins are slightly off. The printer cannot reach as close to the sheet edge as the template expects. One setting flips back to “fit to page” after a driver update.
The result is familiar. Barcodes drift low, sender details creep into the cut line, and one bad row can ruin the rest of the sheet.
OnlineLabels has a practical guide to printer alignment, and the advice lines up with what works at the packing bench. Test on plain paper first, line it up behind the label stock, and correct the margin before you waste adhesive sheets.
Thermal printers fail differently
Thermal printers are faster, but they are less forgiving when the stock size or calibration is wrong.
If you load a 4×6 roll and the driver is set to something close, not exact, the printer may shrink the label, rotate it, or cut part of the barcode. That is usually a setup problem, not an Aeros Couriers problem and not a carrier problem.
Use a simple check before blaming the file:
- Match the driver to the exact stock size
- Set scaling to 100% or actual size
- Run calibration after changing rolls
- Check the sensor if labels skip or feed unevenly
- Print dark enough for a clear barcode, but not so dark that lines bleed
One clean test label tells you a lot.
How to straighten out A4 sheet alignment
A4 needs patience more than fancy hardware. Small adjustments beat guesswork.
Follow this order:
- Print the label on plain A4 paper.
- Hold it behind the label sheet in good light.
- Check the top margin, left margin, and spacing between rows.
- Adjust the template in small steps only.
- Print a second paper test before touching the label sheet.
Do not change three things at once. Change one margin, test it, then lock that template in.
Settings worth checking every time
A printer remembers bad habits. After a Windows update, a new laptop, or a swapped printer, check the basics again.
| Setting | What to use |
|---|---|
| Page scaling | Actual size or 100% |
| Paper size | Exact label format |
| Orientation | Match the label layout |
| Print quality | Crisp barcode, readable text |
| Media type | Match the stock if available |
Office printer defaults are built for letters and invoices. Shipping labels need tighter control.
If you are changing satchel size, parcel size, or service level and want to check the full shipping cost before printing, use the Aeros Couriers shipping cost estimator. It helps catch format and service mismatches before they become reprints.
Maintenance fixes more “printer problems” than people expect
A faded barcode often comes from a dirty printhead, cheap label stock, or a driver setting that changed weeks ago. I have seen teams waste time rebuilding templates when the simple fix was a two-minute clean.
Keep the routine simple:
- clean the printhead on a regular schedule
- use label stock the printer handles properly
- keep one known-good template for each format
- test after any change to stock, driver, or device
And avoid the usual mistakes:
- troubleshooting on live customer orders
- buying random labels because they were cheap
- assuming every carrier PDF behaves the same way
- covering the barcode with shiny tape
If you also send orders outside Australia, it helps to separate your domestic print workflow from your export paperwork workflow. The rules and document formats are different, especially once customs forms enter the job. This guide on how to ship internationally cheaply is a useful companion for that side of the process.
Beyond the Print Button Packaging and Savings
A clean label on the wrong parcel still creates delays.
I see this all the time in Australian dispatch rooms. The label prints perfectly, then someone sticks it across a carton join, over recycled tape residue, or on a soft satchel surface that creases the barcode in transit. Carriers do not care that the print was sharp at the bench. They care whether their scanners can read it at speed.
Apply the label where scanners can read it
Use the biggest flat face on the parcel and keep the barcode flat from edge to edge.
On small boxes, that sometimes means turning the box before sealing so the best panel stays free for the label. On satchels, press the air out first so the label does not wrinkle once the item settles. If you need to tape over part of the label pouch or paperwork, keep tape away from the barcode area, especially glossy tape that throws scanner glare under depot lighting.
That one packing habit saves rework.
Packaging choices affect shipping cost too
The quoted rate is only part of the cost. Bad packaging adds void fill, pushes parcels into the wrong size bracket, and causes address labels to lift or tear.
A practical bench routine looks like this:
- Standardise your packaging range: Fewer box and satchel sizes make weights and dimensions more predictable.
- Measure before you book: Parcel size guesses are where margin leaks start.
- Keep outer surfaces clean and dry: Labels stick properly to smooth cardboard and clean satchels.
- Match the packaging to the product: Oversized cartons look harmless until you pay cubic weight on them.
- Check the final parcel before sealing: Fixing a service or size mistake early is faster than voiding and reprinting later.
If dimensions vary across orders, check the Aeros Couriers shipping cost estimator before you lock in the booking. It is a simple way to catch a bulky carton, a wrong satchel choice, or a service mismatch before it turns into extra cost.
If you also send export orders, keep that workflow separate. Customs paperwork, label placement, and service rules change once a parcel leaves Australia. This guide on how to ship internationally cheaply is a useful companion for that side of the operation.
Savings come from consistency
Shipping waste usually comes from avoidable handling errors, not dramatic carrier problems.
A parcel that needs a relabel, a carton that tips into a higher cubic bracket, or a barcode that does not scan first all cost time. Time at the packing bench turns into labour cost fast, especially during peak periods. The fix is boring, which is why it works. Use a small packaging range, stick labels on clean flat surfaces, measure the finished parcel, and keep the domestic process steady.
Key takeaway: Fast, cheap, reliable shipping comes from repeatable packing habits. Correct dimensions, clean surfaces, sensible packaging, and careful label placement prevent the expensive mistakes that slow dispatch down.
Your Shipping Workflow Unleashed
A strong shipping setup gives back time. That is a significant reward.
Once your hardware is sorted, your label format is stable, and your booking flow is predictable, dispatch stops draining the day. You print shipping labels quickly, stick them on with confidence, and move parcels out the door without second-guessing every step.
That matters because shipping is not separate from customer experience. It is part of it. A business that sends parcels cleanly and consistently looks organised, even before the customer opens the box.
The biggest shift is mental. Shipping stops feeling like a daily interruption and starts operating like a system. You do not need a giant warehouse for that. You need a repeatable process, suitable hardware, and disciplined handling of parcel data and print settings.
Build that once, then protect it. Keep templates stable. Train anyone helping with dispatch to follow the same order. Fix small print issues early. Stay boring in the best possible way.
Frequently Asked Questions
Can I print shipping labels on a normal office printer
Yes. For lower parcel volume, a laser or inkjet printer with A4 adhesive sheets can work well.
The catch is alignment. Office printers are more prone to scaling and margin issues, so test on plain paper first and confirm that the barcode and address block sit correctly inside the label area.
Why does my 4×6 label print sideways or shrunk
This is usually a format mismatch between the PDF, printer driver, and stock size.
A key overlooked issue is compatibility. A Sensis E-business Report noted that 75% of Australian SMBs use printer variants ill-suited for imported 4×6 US PDFs, causing scaling issues that platform-specific tutorials often miss (YouTube reference). In practice, that means you should check page size, orientation, and scaling before blaming the file.
Is thermal always better than laser for Australian parcel shipping
Not always.
Thermal is usually better for frequent dispatch because the workflow is faster and simpler. Laser remains practical when you ship less often, want one printer for multiple tasks, or already have a reliable office setup.
What makes a label fail to scan
Common causes include low print contrast, incorrect scaling, dirty printheads, poor placement on the parcel, glare from tape, and clipping caused by wrong margins or page settings.
The barcode can be technically present and still unreadable in real conditions.
Should I print labels one at a time or in batches
Print one at a time when order volume is low or your products are highly customised. Print in controlled batches when volume rises and your bench flow is organised.
If you batch print, apply each label immediately to the matching parcel. Loose stacks of printed labels are where mix-ups begin.
What details should I double-check before printing
Focus on the fields that affect delivery and pricing:
- Receiver address
- Postcode and suburb
- Parcel weight and dimensions
- Phone number
- Any required declarations
These checks take seconds and save far more time than a reshipment or support call.
If you want a simpler way to quote, book, print labels, and manage parcel deliveries across Australia, Aeros Couriers gives you one dashboard for the job. It suits businesses that want low-cost local and nationwide shipping without building a complicated dispatch stack.
